A Guide to Downloading Images from a Database using Node.js

Introduction: In this tutorial, we’ll explore how to download images from a MongoDB database using Node.js. We’ll walk through setting up a Node.js project, connecting to a MongoDB database, defining a schema for image URLs, and creating a script to download and save images locally.
Prerequisites: Before we begin, ensure you have the following:
Basic knowledge of JavaScript and Node.js.
Node.js installed on your machine.
Access to a MongoDB database with a collection containing image URLs.
Step 1: Set Up Your Project: Let’s start by setting up our Node.js project. Open your terminal and execute the following commands:
mkdir image-downloader
cd image-downloader
npm init -y
Next, install the required dependencies:
npm install mongoose
Step 2: Connect to MongoDB: Create a file named dbConnect.js inside a config directory to handle the MongoDB connection:
// config/dbConnect.js
const mongoose = require('mongoose');

const connectDB = async () => {
  try {
    await mongoose.connect('mongodb://localhost:27017/your-database-name', {
      useNewUrlParser: true,
      useUnifiedTopology: true,
    });
    console.log('MongoDB Connected');
  } catch (error) {
    console.error('Error connecting to MongoDB:', error);
    process.exit(1);
  }
};

module.exports = connectDB;
Make sure to replace 'mongodb://localhost:27017/your-database-name' with your actual MongoDB connection URL.
Step 3: Define the Member Model: Create a file named member.js inside a model directory to define the schema for your Member model:
// model/member.js
const mongoose = require('mongoose');

const memberSchema = new mongoose.Schema({
  image: String,
});

const Member = mongoose.model('Member', memberSchema);

module.exports = Member;
Step 4: Download Images: Now, let’s create a script named downloadImages.js in the root directory of our project:
// downloadImages.js
const Member = require('./model/member');
const initDB = require('./config/dbConnect');
const fs = require('fs');
const https = require('https');

initDB();

async function downloadImage() {
  try {
    console.log('DB Member fetching images...');
    const members = await Member.find({});
    console.log('DB Member fetched');
    console.log(members);
    const ImageUrls = members.map((member) => member.image);

    console.log('Downloading images...');

    await Promise.all(
      ImageUrls.map(async (url, index) => {
        const imageName = url.split('/').pop();
        const file = fs.createWriteStream(`public/members/${imageName}`);

        https
          .get(url, (response) => {
            response.pipe(file);

            file.on('finish', () => {
              file.close();
              console.log(`Image ${index} downloaded as ${imageName}`);
            });
          })
          .on('error', (err) => {
            fs.unlink(`public/members/${imageName}`);
            console.error(`Error downloading image: ${err.message}`);
          });
      })
    );
  } catch (error) {
    console.error(error);
    process.exit(1);
  }
}

downloadImage();
Step 5: Run the Script: Execute the following command in your terminal to start downloading the images:
node downloadImages.js
This script fetches image URLs from the MongoDB database, downloads each image using HTTPS, and saves them in the public/members directory.
Conclusion: Congratulations! You’ve successfully created a script to download images from a MongoDB database using Node.js. Feel free to integrate this script into your Node.js applications to handle image downloads efficiently.

> Written by
Emdadul Islam
Software Engineer. View profile →
Read more
Setting Up Seeders in Node.js and Mongoose with Example
Learn to set up seeders in Node.js with Mongoose to populate your MongoDB database, focusing on creating an admin user during seeding

How to Deploy an AI Agent with Amazon Bedrock AgentCore
Deploy AI agents with Amazon Bedrock AgentCore for scalable configuration on AWS, integrating with frameworks like LangGraph and CrewAI
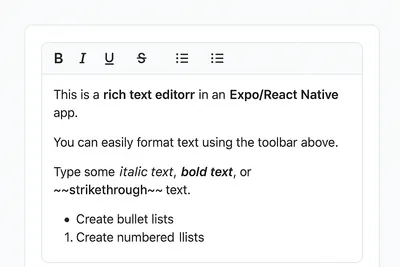
How to Add a Native Rich Text Editor in Expo / React Native (No WebView)
Use expo-rte for a native rich text editor in Expo/React Native, offering cross-platform, customizable, native performance without WebView